This is an example application of Costo Test Project.We have to follow these steps to get finally a Kmelia application evaluated by Costo plugins, especially Costo Test plugins.
You can use a flash Tutorial , or follow these steps.
First step : Get Costo installed
Before testing Kmelia application we must first get Costo installed.
For that just follow indications given on this link Costo Installation Guide.
Second step : Testing an Kmelia application example
After achieving success with the previous step, our goal in this section is to test a Kmelia application using COSTO Test plugins provided for this purpose. To do this we will download a Kmelia example application, learn a little more about its design, files that compose it and finally we will test itself:
- First, download the Project example archive CaseStudyModCompo14
- Then, test the example by following Testing in screenshots tutorial version below. You can alternatively follow an execution scenario in the PDF file.
1.Import the example project into Eclipse :
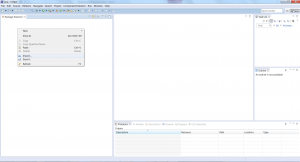
- Click on File and Import
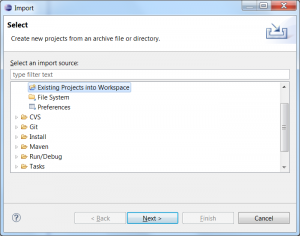
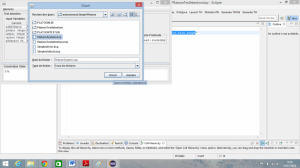
- When pop up dialog open choose “Existing Projects Into Workspace” et click on button Next
2. Browse the Kmelia example application :
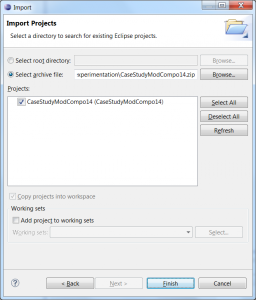
- Browse the Kmelia example application directory by clicking on Browse button
- Select the archive file
- If this is done click on button Open and then click on Finish
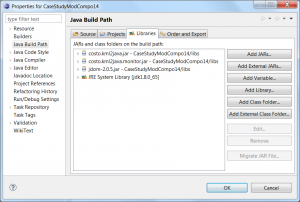
- If necessary, change the JRE library in the projet build path
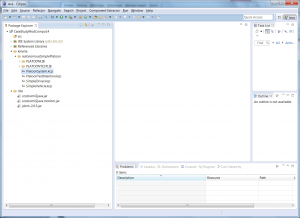
- You can see your project correctly imported into your eclispe workspace
3. Explore kmelia directory :
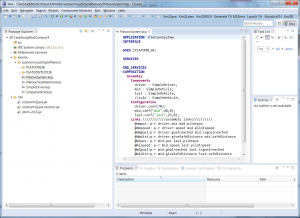
- Unfold kmelia directory and double click on PlatoonSystem.kcp file to see its content
PlatoonSystem is a Kmelia application about intelligent system embedded on new generation of vehicle. Here we similate a set of 3 vehicles. The driver, the mid and the last.
Application abstract: The first is control by pilot (a man) and the other two without pilot. they are connected to the first via an intelligent system which allows control of the over vehicles from the first. This system allows the driver to convey both vehicle without a pilot to an prefixed destination with maintaining a distance of safety calculated dynamically depending on the speed of the vehicle predecessor
4. Test intention :
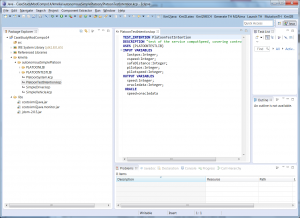
Our aim is to test PlatoonSystem application. For that we need a test intention file which resumes what we want to test, of course a service or component.
- Double-click on the PLatoonTestIntention.kcp file to explore its content
- From this file, click on “Generate TH” button on workbench (top-right).
5. Target :
- A new window appears click on “Harness” and then click on “Select Target” menu item
6. Service or component to test :
- Select PlatoonSystem.kcp and click on “Open” to load file
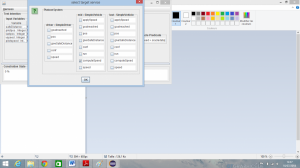
- A pop up windows appears , choose the service you want to test. In our example choose computeSpeed service and click ok
7. Test harness :
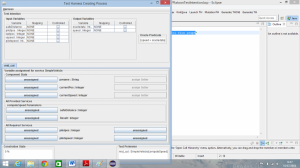
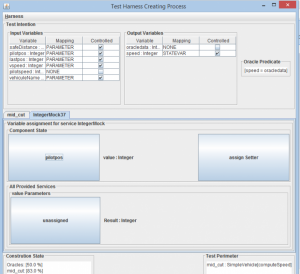
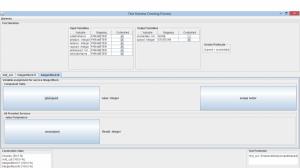
- We get now a new windows resuming system under test and its configuration variables.From here we will assign all required variables to each corresponding variables from our test intention to build test harness
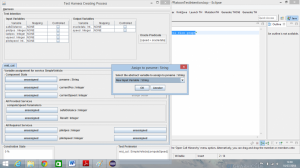
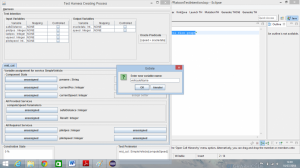
- Give a name to this new variable ,for example “vehiculeName” and click OK
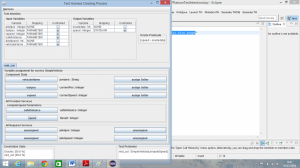
- For currentPos variable , click on unassigned button on the same level with currentPos label. Choose “lastpos” from pop-up dialog which appears and click OK
- Do the same to assign: currenSpeed to vspeed, safedistance to safedistance, and Result to speed
9. Required services’ Assignement :
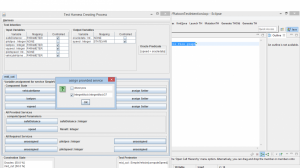
- Click on unassigned button on the same level with pilotpos and choose “IntegerMock” from pop-up dialog which appears and click OK
- A new IntegerMock tab is added. Go to this tab and click on unassigned button on the same level with value label.
Assign this variable to pilotpos
- Do the same with pilotspeed and assign it to pilotspeed
10. Test harness generation :
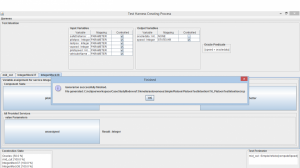
- Now click on “Generate” item form Harness menu to generate your test harness.Two confirmation pop-up appears, click OK
11. TH_PLatoonTestIntention.kcp :
- Close this windows and return to your eclipse workbench. Refresh your project and unfold the new folder generated “PlatoonTestIntention folder”
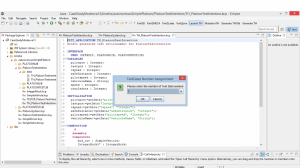
- Double click on test harness file “TH_PLatoonTestIntention.kcp”. From this test click on “Launch TH” button.
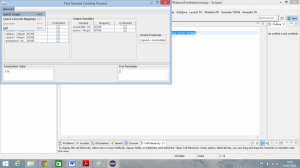
A dialog bow appears, select the number of tests data you want to build
Third step : Building Tests Data And launch Test process
1. Test data :
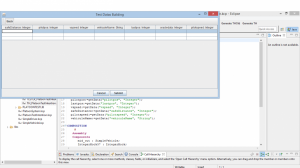
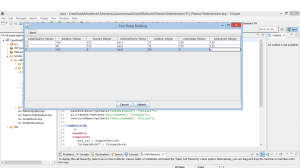
- After selecting three tests data configuration in pop-up box as specified previously,an edition table opens
- fill all the cells depending on the type of data
- After that click on Submit button.
2. Test Data generation :
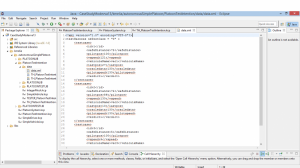
- Once again close this windows and go to your eclipse workbench to refresh your project. Go to PlatoonTestIntention Data folder and double click on data.xml (download our sample archive file) file to see your data generated
3. Verdicts :
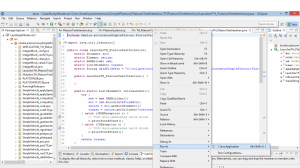
- Go to src directory, unfold its and find LauncherTH_PlatoonTestIntention.
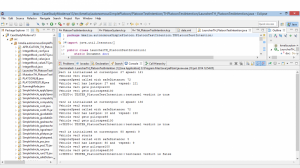
Run it as Java Application and see the result in real-time
- The log of this test can be found in Data directory. his name is “data_res.xml”
Conclusion
we applied 3 configurations to our test harness. they are a true verdict (100% success), so we can deduce that the specification of our model is reliable
